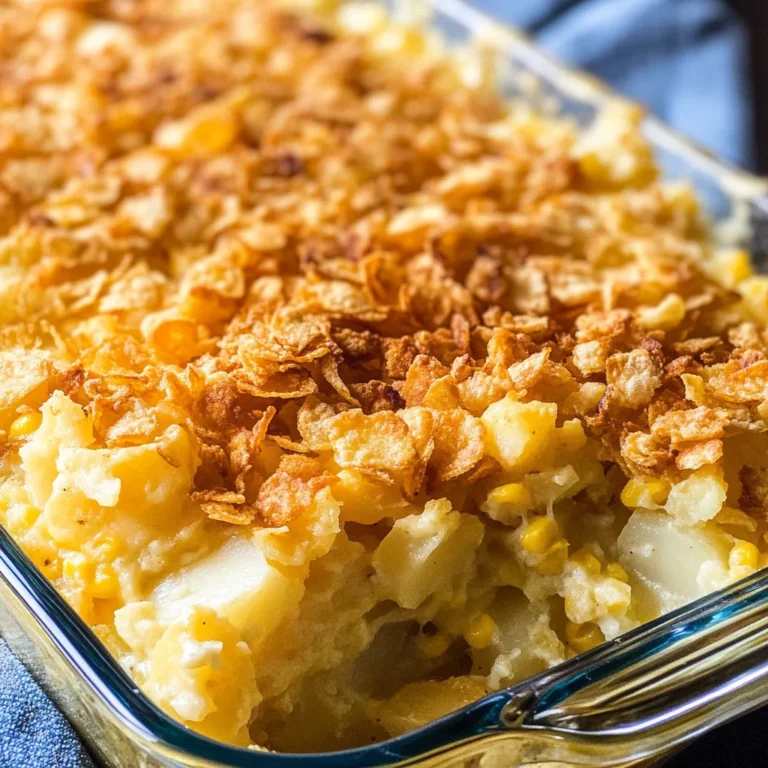
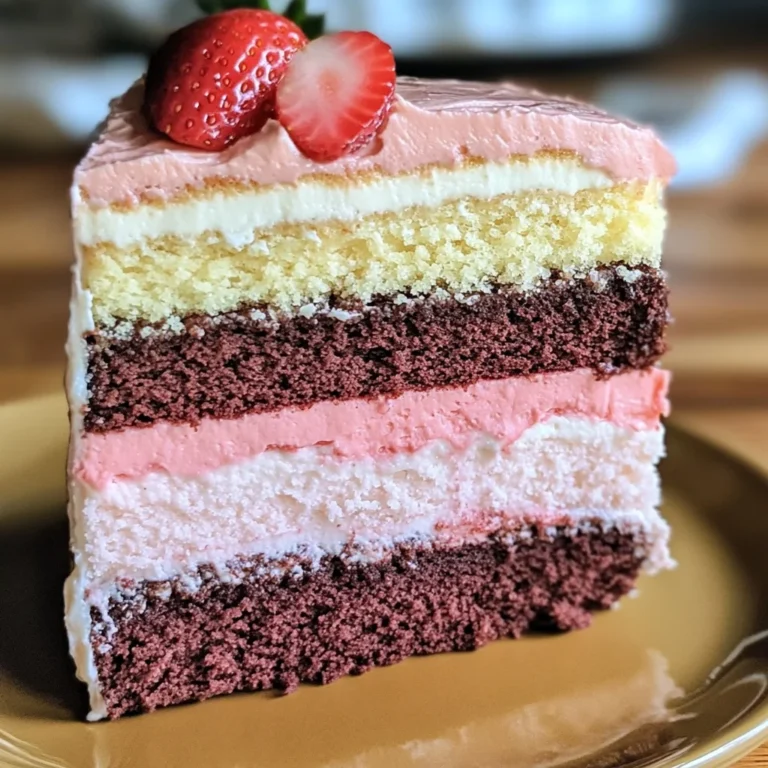
Bunny Butt Oreo Balls are the perfect no-bake dessert for your Easter celebrations! These delightful treats are not only adorable but also incredibly easy to make. With their cute bunny butt design, they will bring smiles to both kids and adults alike. Whether you’re hosting a spring gathering or just looking for a fun activity with the family, these Bunny Butt Oreo Balls are sure to be a hit.
Why You’ll Love This Recipe
- Adorable Presentation: The bunny butt design makes these treats visually appealing and perfect for any Easter-themed event.
- No-Bake Convenience: Skip the oven! These Oreo balls come together quickly without any baking involved.
- Kid-Friendly Fun: Involve your little ones in the decorating process, making it a fun family activity.
- Customizable: You can add different toppings or flavors to suit your taste preferences or dietary needs.
- Deliciously Rich Flavor: The combination of Oreo cookies and cream cheese makes every bite rich and satisfying.
Tools and Preparation
Before you get started on your Bunny Butt Oreo Balls, gather the essential tools you’ll need. Using the right equipment will help streamline the process and ensure success.
Essential Tools and Equipment
- Food processor
- Microwave-safe bowl
- Fork or dipping tool
- Parchment paper
- Baking sheet
Importance of Each Tool
- Food processor: Quickly crushes Oreos into fine crumbs, saving you time and effort.
- Microwave-safe bowl: Ideal for melting chocolate or candy melts evenly without burning them.
Ingredients
Here’s what you’ll need to create these delightful Bunny Butt Oreo Balls:
For the Bunny Balls
- 1 (14 oz) package Oreo cookies, finely crushed
- 8 oz cream cheese, softened
- 12 oz white chocolate or white candy melts, melted
- ½ cup shredded coconut (for a fluffy tail effect, optional)
- Mini marshmallows or candy pearls (for the bunny tail)
- Pink candy melts or pink sprinkles (for bunny feet details)
- Small white chocolate chips (for foot decoration, optional)
How to Make Bunny Butt Oreo Balls
Step 1: Prepare the Oreo Mixture
- Place Oreos (including filling) into a food processor and pulse until fine crumbs form.
- Add softened cream cheese to the crushed Oreos. Mix until it forms a thick, sticky dough that holds together well.
Step 2: Form the Balls
- Scoop about 1 tablespoon of the mixture and roll it between your palms into smooth balls.
- Place them on a parchment-lined baking sheet.
- Chill in the freezer for 15–20 minutes to firm up before dipping.
Step 3: Melt the Chocolate
- In a microwave-safe bowl, melt white chocolate or candy melts in 30-second intervals, stirring between each until completely smooth.
- If needed, add 1 teaspoon coconut oil or vegetable shortening to thin it out for easy dipping.
Step 4: Dip and Decorate
- Using a fork or dipping tool, dip each chilled Oreo ball into the melted white chocolate.
- Tap off excess chocolate and place back onto the parchment-lined baking sheet.
- If using shredded coconut, immediately sprinkle over the balls while wet for a fluffy effect.
Step 5: Add Bunny Features
- While the chocolate is still soft, attach a mini marshmallow or candy pearl on top of each ball as the bunny tail.
- For bunny feet, melt pink candy melts and pipe small ovals onto parchment paper; let set.
- Attach two bunny feet per ball using a dab of melted white chocolate. Use small white chocolate chips as toe pads if desired.
Step 6: Set and Serve
- Allow decorated Oreo balls to sit at room temperature for 15 minutes or refrigerate for 10 minutes until fully set.
- Once set, serve these adorable Bunny Butt Oreo Balls at your next gathering! Enjoy!
How to Serve Bunny Butt Oreo Balls
These Bunny Butt Oreo Balls make a delightful addition to any Easter celebration or spring gathering. They can be served in various creative ways to impress your guests and enhance the festive atmosphere.
For Easter Brunch
- Easter-Themed Platter: Arrange the Bunny Butt Oreo Balls on a colorful platter surrounded by spring flowers or decorative grass for a cheerful centerpiece.
- Individual Treat Bags: Place each Bunny Butt Oreo Ball in small, clear treat bags tied with pastel ribbons for easy serving and take-home favors.
As Party Favors
- Decorative Boxes: Pack the Bunny Butt Oreo Balls in cute, themed boxes as sweet party favors for guests to enjoy later.
- Personalized Tags: Attach personalized tags or thank-you notes to each box for a thoughtful touch.
With Beverages
- Pair with Milk: Serve alongside cold glasses of milk, which complements the rich flavors of the Oreo balls perfectly.
- Spring-Inspired Cocktails: Offer light, fruity cocktails that enhance the festive spirit of your gathering.
How to Perfect Bunny Butt Oreo Balls
To ensure your Bunny Butt Oreo Balls turn out just right, consider these helpful tips. Each step will help elevate your dessert game and impress your friends and family!
- Chill Before Dipping: Make sure the rolled Oreo balls are well-chilled. This helps them hold their shape during dipping and prevents them from falling apart.
- Use Quality Chocolate: Opt for high-quality white chocolate or candy melts for a smoother finish and better taste.
- Experiment with Toppings: Feel free to get creative! Use different colors of candy melts or sprinkles to customize your bunny butts.
- Consider Texture: If you want extra crunch, add finely crushed nuts or cookies into the mixture before rolling into balls.
Best Side Dishes for Bunny Butt Oreo Balls
While Bunny Butt Oreo Balls are delicious on their own, pairing them with complementary side dishes can enhance your overall Easter menu. Here are some fantastic options:
- Spring Salad: A light salad with mixed greens, strawberries, and a citrus vinaigrette provides a refreshing contrast.
- Deviled Eggs: These classic appetizers add a savory touch that balances out the sweetness of the dessert.
- Fruit Skewers: Colorful fruit skewers made with seasonal fruits like strawberries, pineapple, and kiwi make for a vibrant side dish.
- Cheese Platter: A selection of cheeses paired with crackers is perfect for grazing while enjoying sweet treats.
- Mini Quiches: These bite-sized savory pastries can include various fillings, making them an appealing option alongside the sweets.
- Vegetable Tray with Dip: Fresh veggies served with ranch or hummus provide a crunchy snack that contrasts nicely with the creamy texture of the Oreo balls.
Common Mistakes to Avoid
Making Bunny Butt Oreo Balls can be fun, but it’s easy to make mistakes. Here are some common errors and how to avoid them.
-
Using warm cream cheese: Always ensure your cream cheese is softened but not warm. Warm cream cheese can make the mixture too runny, affecting the shape of your Oreo balls.
-
Not chilling the balls: Skipping the chilling step before dipping can lead to messy results. Make sure to chill your Oreo balls for at least 15-20 minutes to help them hold their shape.
-
Overheating the chocolate: When melting white chocolate, do it in short intervals. Overheating can cause it to seize up and become unusable. Stir frequently for a smooth consistency.
-
Skipping decorative details: To achieve the cute bunny butt look, don’t skip adding mini marshmallows or candy pearls for tails. These small details make a big difference in presentation.
-
Not using parchment paper: Placing your dipped Oreo balls directly on a plate can cause sticking. Always use parchment paper on your baking sheet for easy removal.
Storage & Reheating Instructions
Refrigerator Storage
- Store in an airtight container.
- They will last up to one week in the refrigerator.
Freezing Bunny Butt Oreo Balls
- Place in a freezer-safe container or bag.
- Can be frozen for up to three months; just thaw in the fridge before serving.
Reheating Bunny Butt Oreo Balls
- Oven: Preheat to 350°F (175°C). Place on a baking sheet for a few minutes until slightly warmed.
- Microwave: Heat individually on a plate for about 10-15 seconds until just warm.
- Stovetop: Use a non-stick pan over low heat for a few minutes, turning frequently.
Frequently Asked Questions
Here are some common questions about making Bunny Butt Oreo Balls that may help you out!
How do I make Bunny Butt Oreo Balls with gluten-free Oreos?
You can easily substitute regular Oreos with gluten-free Oreos. The process remains the same, ensuring everyone can enjoy this treat!
Can I use dark chocolate instead of white chocolate?
Yes, dark chocolate adds a rich flavor! Just melt it as you would with white chocolate and follow the same dipping instructions.
Are Bunny Butt Oreo Balls kid-friendly?
Definitely! These treats are not only fun to make but also safe and delicious for kids to enjoy during Easter celebrations or any spring gathering.
How can I customize my Bunny Butt Oreo Balls?
You can customize them by adding different colors of sprinkles or using various candies for decoration. Get creative with toppings!
Final Thoughts
Bunny Butt Oreo Balls are an adorable and delightful treat perfect for Easter celebrations or any springtime event. With their no-bake simplicity and customizable decorations, they are great fun for both kids and adults alike! Try experimenting with different candy decorations or flavor variations to make this recipe truly your own.
Bunny Butt Oreo Balls
- Total Time: 30 minutes
- Yield: 24 servings 1x
Description
Bunny Butt Oreo Balls are a must-try no-bake dessert that will brighten up your Easter celebrations! These adorable treats feature a charming bunny butt design, making them perfect for both kids and adults to enjoy. With just a few simple ingredients and minimal effort, you can create these delightful cookie truffles that are sure to be a hit at any spring gathering. Involve the family in the fun of decorating these cute treats, and watch as they bring smiles all around. Whether displayed on a festive platter or given as party favors, Bunny Butt Oreo Balls are guaranteed to add sweetness and cheer to your festivities!
Ingredients
- 1 (14 oz) package Oreo cookies, finely crushed
- 8 oz cream cheese, softened
- 12 oz white chocolate or candy melts, melted
- ½ cup shredded coconut (optional)
- Mini marshmallows or candy pearls (for tails)
- Pink candy melts or pink sprinkles (for feet details)
- Small white chocolate chips (optional)
Instructions
- Crush Oreos in a food processor until fine crumbs form. Mix in softened cream cheese until sticky dough forms.
- Roll mixture into 1-inch balls and place on parchment-lined baking sheet. Chill in the freezer for 15–20 minutes.
- Melt white chocolate in intervals in a microwave-safe bowl, stirring until smooth.
- Dip each chilled ball into melted chocolate, tapping off excess. Sprinkle shredded coconut immediately if desired.
- Decorate with mini marshmallows or candy pearls for tails and pipe pink melts for bunny feet.
- Prep Time: 30 minutes
- Cook Time: 0 minutes
- Category: Dessert
- Method: No-Bake
- Cuisine: American
Nutrition
- Serving Size: 1 serving
- Calories: 140
- Sugar: 13g
- Sodium: 50mg
- Fat: 8g
- Saturated Fat: 5g
- Unsaturated Fat: 2g
- Trans Fat: 0g
- Carbohydrates: 15g
- Fiber: 0g
- Protein: 1g
- Cholesterol: 10mg
Keywords: For added texture, mix in crushed nuts before rolling into balls. Customize with different colors of candy melts for seasonal flair. Store in an airtight container; they last up to one week in the fridge.


